
ConnectWise is slowly releasing new Asio features. Projects and the new Microsoft 365 email connector are two of the newest releases. We’ll review the email connector in this blog article.
What is ASIO? Pronounced “AH SI O”, is a serverless microcell architecture which ConnectWise has been developing for some time now. Continuum RMM was purchased by ConnectWise in 2019, for multiple reasons, one being it’s serverless architecture which was exactly the vision in mind. Read this article by ConnectWise for more information about the merger of Continuum and ConnectWise.
We are super excited about this new email connector as it brings the capability to use the Email Message ID based within the email header.
Business Case: End user John, sends an email to raise a ticket, however there are multiple people cc’d (Mary, Ted, Sharon) on the same email. Mary replies to the email sent by John, which not only is sent directly to John, but to the email connector. With the current email connector, this would create another ticket. Each time Mary, Ted or Sharon replies to the original email, a new ticket gets created. We all love this experience (Sarcasm), having to merge each ticket to the original.
With the Asio Microsoft 365 email connector, enabling the “Use Email Message ID to add to existing tickets” helps resolve this from happening as it will look at the fresh email header, sees the Email Message ID is already part of an original ticket, thus will append the new email into the ticket. No more duplicated tickets!
Need to know: Now that we have you all pumped up, we have to tell you there currently is a known issue which prevents the Asio Microsoft 365 email connector from working. The status of this can be found in ConnectWise Home, searching for Know Issue: [ISSUE-4402] Unable to Save New ASIO Email Connector Setup Table Error calling inbound-ticket-service.
Let’s run through setting up this new email connector.
Step 1:
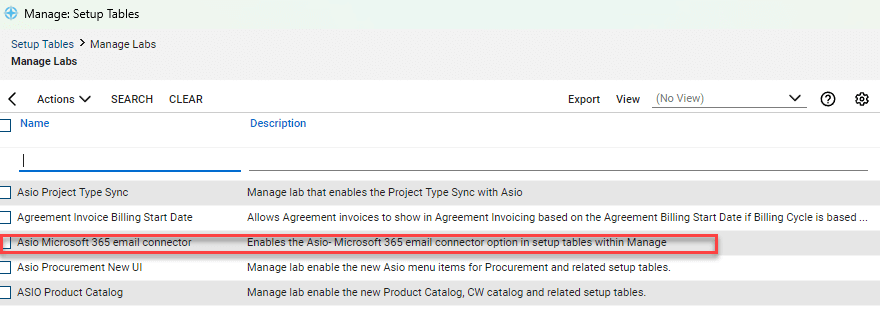
- Enable the connector through Manage Labs: System > Setup Tables > Manage Labs
- Search for Asio Microsoft 365 email connector
- Select the checkbox, chose activate from the Actions drop down
Step 2:
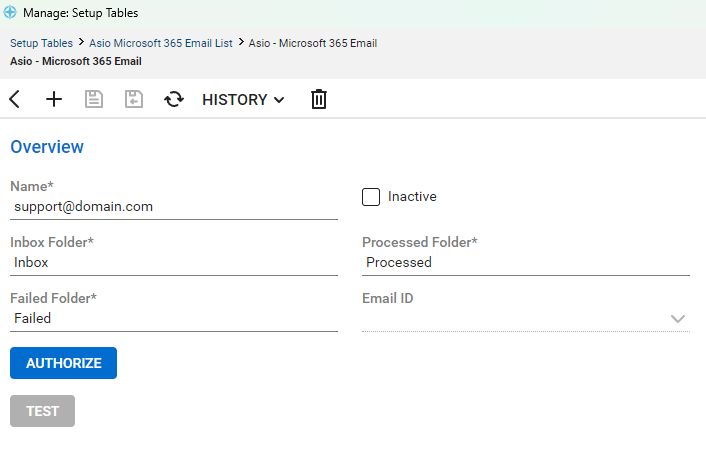
- Navigate to System > Setup Tables > Asio Microsoft 365 Email
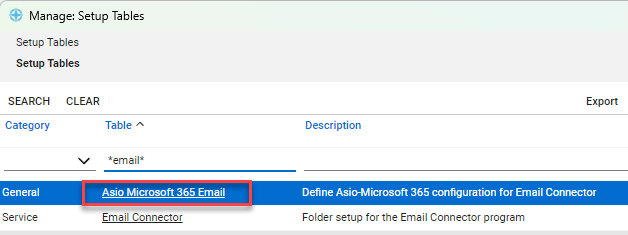
- Create a connector
- We suggest using the email address as the name
- Save then Authorize (Must have global admin rights to perform this required task)
- Save/Close
Step 3:
For this step, we’ll only show the main points of interest.
- Select Asio – Microsoft 365 as the Email Server Type.
- Select the newly created connection from step 2 above.
- Enable Use Email Message ID by selecting the checkbox.
- Continue setting up the rest of the required fields. New email connectors can take up to 20 minutes to initiate.
*Note: New PSA systems in which is is the FIRST email connector will initiate the following morning.

We hope this new Email Connector brings many smiles to your organization!