Creating new members in Manage PSA is a process – assigning defaults, granting permissions, and setting restrictions so members have the appropriate access to records within your system. Use Member Templates in ConnectWise PSA to help standardize settings for new members.
Member Templates provide default values that can be applied to new members as they are created. It’s a great tool for speeding up the onboarding process and ensuring consistency in member settings within a team or department.
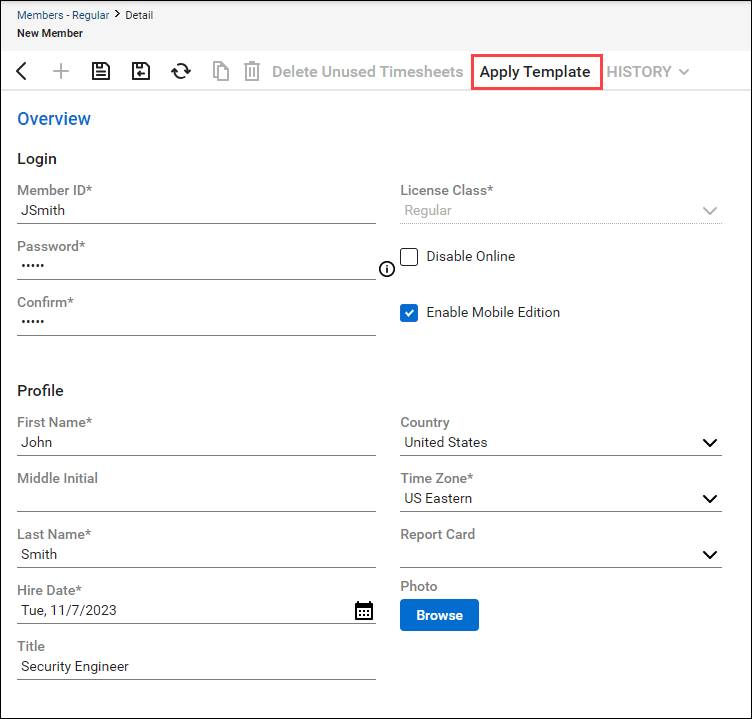
To apply a member template to a new member, simply select the Apply Template button at the top of the member page.
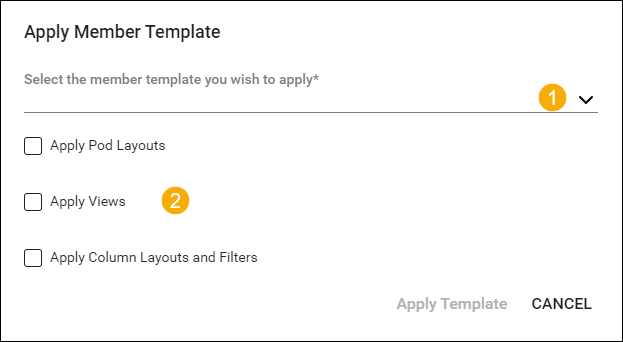
Select the member template to use from the drop-down menu and select which template settings to apply to the new member.
So how do you create a member template? ConnectWise Manage PSA offers two ways to create a member template:
Member Template setup table (System > Setup Tables > Member Templates setup table)
From a member profile page
Member Template Setup Table
Go to Setup Tables > Members Templates.
Click Create Template.
Enter the template name.
Enter required default details in the various sections.
Click Save.
Member Profile Page
Navigate to System > Members.
Select a member profile.
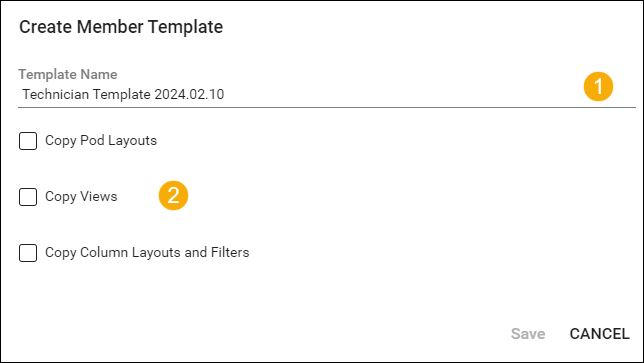
Click Create Template.
Name the new template.
Select the Copy Views, Copy Pod Layouts, and/or Copy Column Layouts & Filters checkboxes to apply those settings to the new template. This copies the selected features from the member profile into the template.
Click Save.
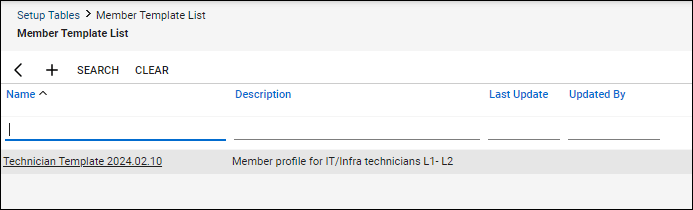
The new member template will appear in the Member Template list view.
Member templates can be created or updated as needed and can be deleted without impacting members who were created using that template.
Check out Visionary 360’s other blog articles for more tips, tricks, and best practices to optimize your ConnectWise Suite of products.
At Visionary 360, we’re a team of experienced business coaches who help Technology Solution Providers make the most of their tools with a strong focus on financial clarity.
We’re more than consultants. We’re partners who love solving problems, simplifying complexity, and turning frustration into progress. Our clients become part of the Visionary 360 family, and we take pride in celebrating their growth and success.
There’s no greater satisfaction than seeing a partner’s business thrive—streamlined, profitable, and confident in every step forward.