Communicating with clients is important however for most it’s really daunting. Creating an email notification that looks professional can make most heads spin but then the content, poof brain explodes. We’ll show you how to create simple templates that your team can use which requires little to no effort.

When building notification templates, what type of notices will your company send?
- Holiday notifications
- Important security notifications
- Cloud application maintenance windows
Each of these notification types can be sent using a pre-constructed template. Once your template is designed, and stored within Communication Manager, individuals with proper security access can use these, quickly sending email notifications to your customers.
Another consideration is who will these be sent to? This article won’t cover groups, but here is a ConnectWise University article on groups.


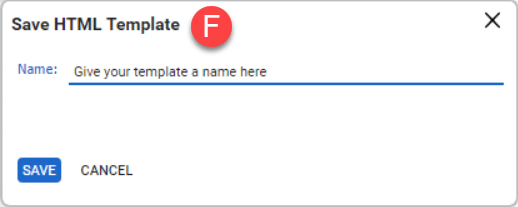
To use the templates, we basically follow the same steps to get to the editor screen.
Basic steps are as follows:
- Open Communications Manager
- Select the desired contacts – Using Groups is the best way to accomplish this. More on using groups here.
- Select Compose Email to continue to next screen
- Compose email
- Apply HTML template
- Adjust Sender name
- Adjust Sender email address
- Enter Subject
- Edit the Template – Update the required areas
- Send Test email – Review before sending. We can’t state this enough, test..test..test.
- Select Next once all testing is completed
- Follow instructions for Historical Activity creation. If none is desired, click Skip.
- Follow instructions for Follow-Up Activity creation. If none is desired, click Skip.
- Review summary and then click Process to complete.